Margaret Lola Bracelet shown layered with colorful crystal beads and gold beads on a wrist.
Margaret Lola Bracelet featuring white crystal beads and a woven gold bead bar centerpiece on a wrist.
Stylish Margaret Lola Bracelet featuring crystal beads and a woven gold bead bar centerpiece.
Close-up of the Margaret Lola Bracelet with crystal beads and woven gold bead bar on a hand.
Margaret Lola Bracelet featuring crystal beads and a woven gold bead bar, with adjustable sliding cord closure.
Margaret Lola Bracelet showcased on a hand with a woven gold bead bar and mint crystal beads.
Margaret Lola Bracelet featuring mint crystal beads and a woven gold bead bar centerpiece.
Margaret Lola Bracelet featuring red crystal beads and a woven gold bead centerpiece, styled on a wrist.
Bright red crystal bead bracelet with gold accents and adjustable sliding cord closure.

Margaret Lola Bracelet

$29.90
GST included.
PAY LATER WITH  

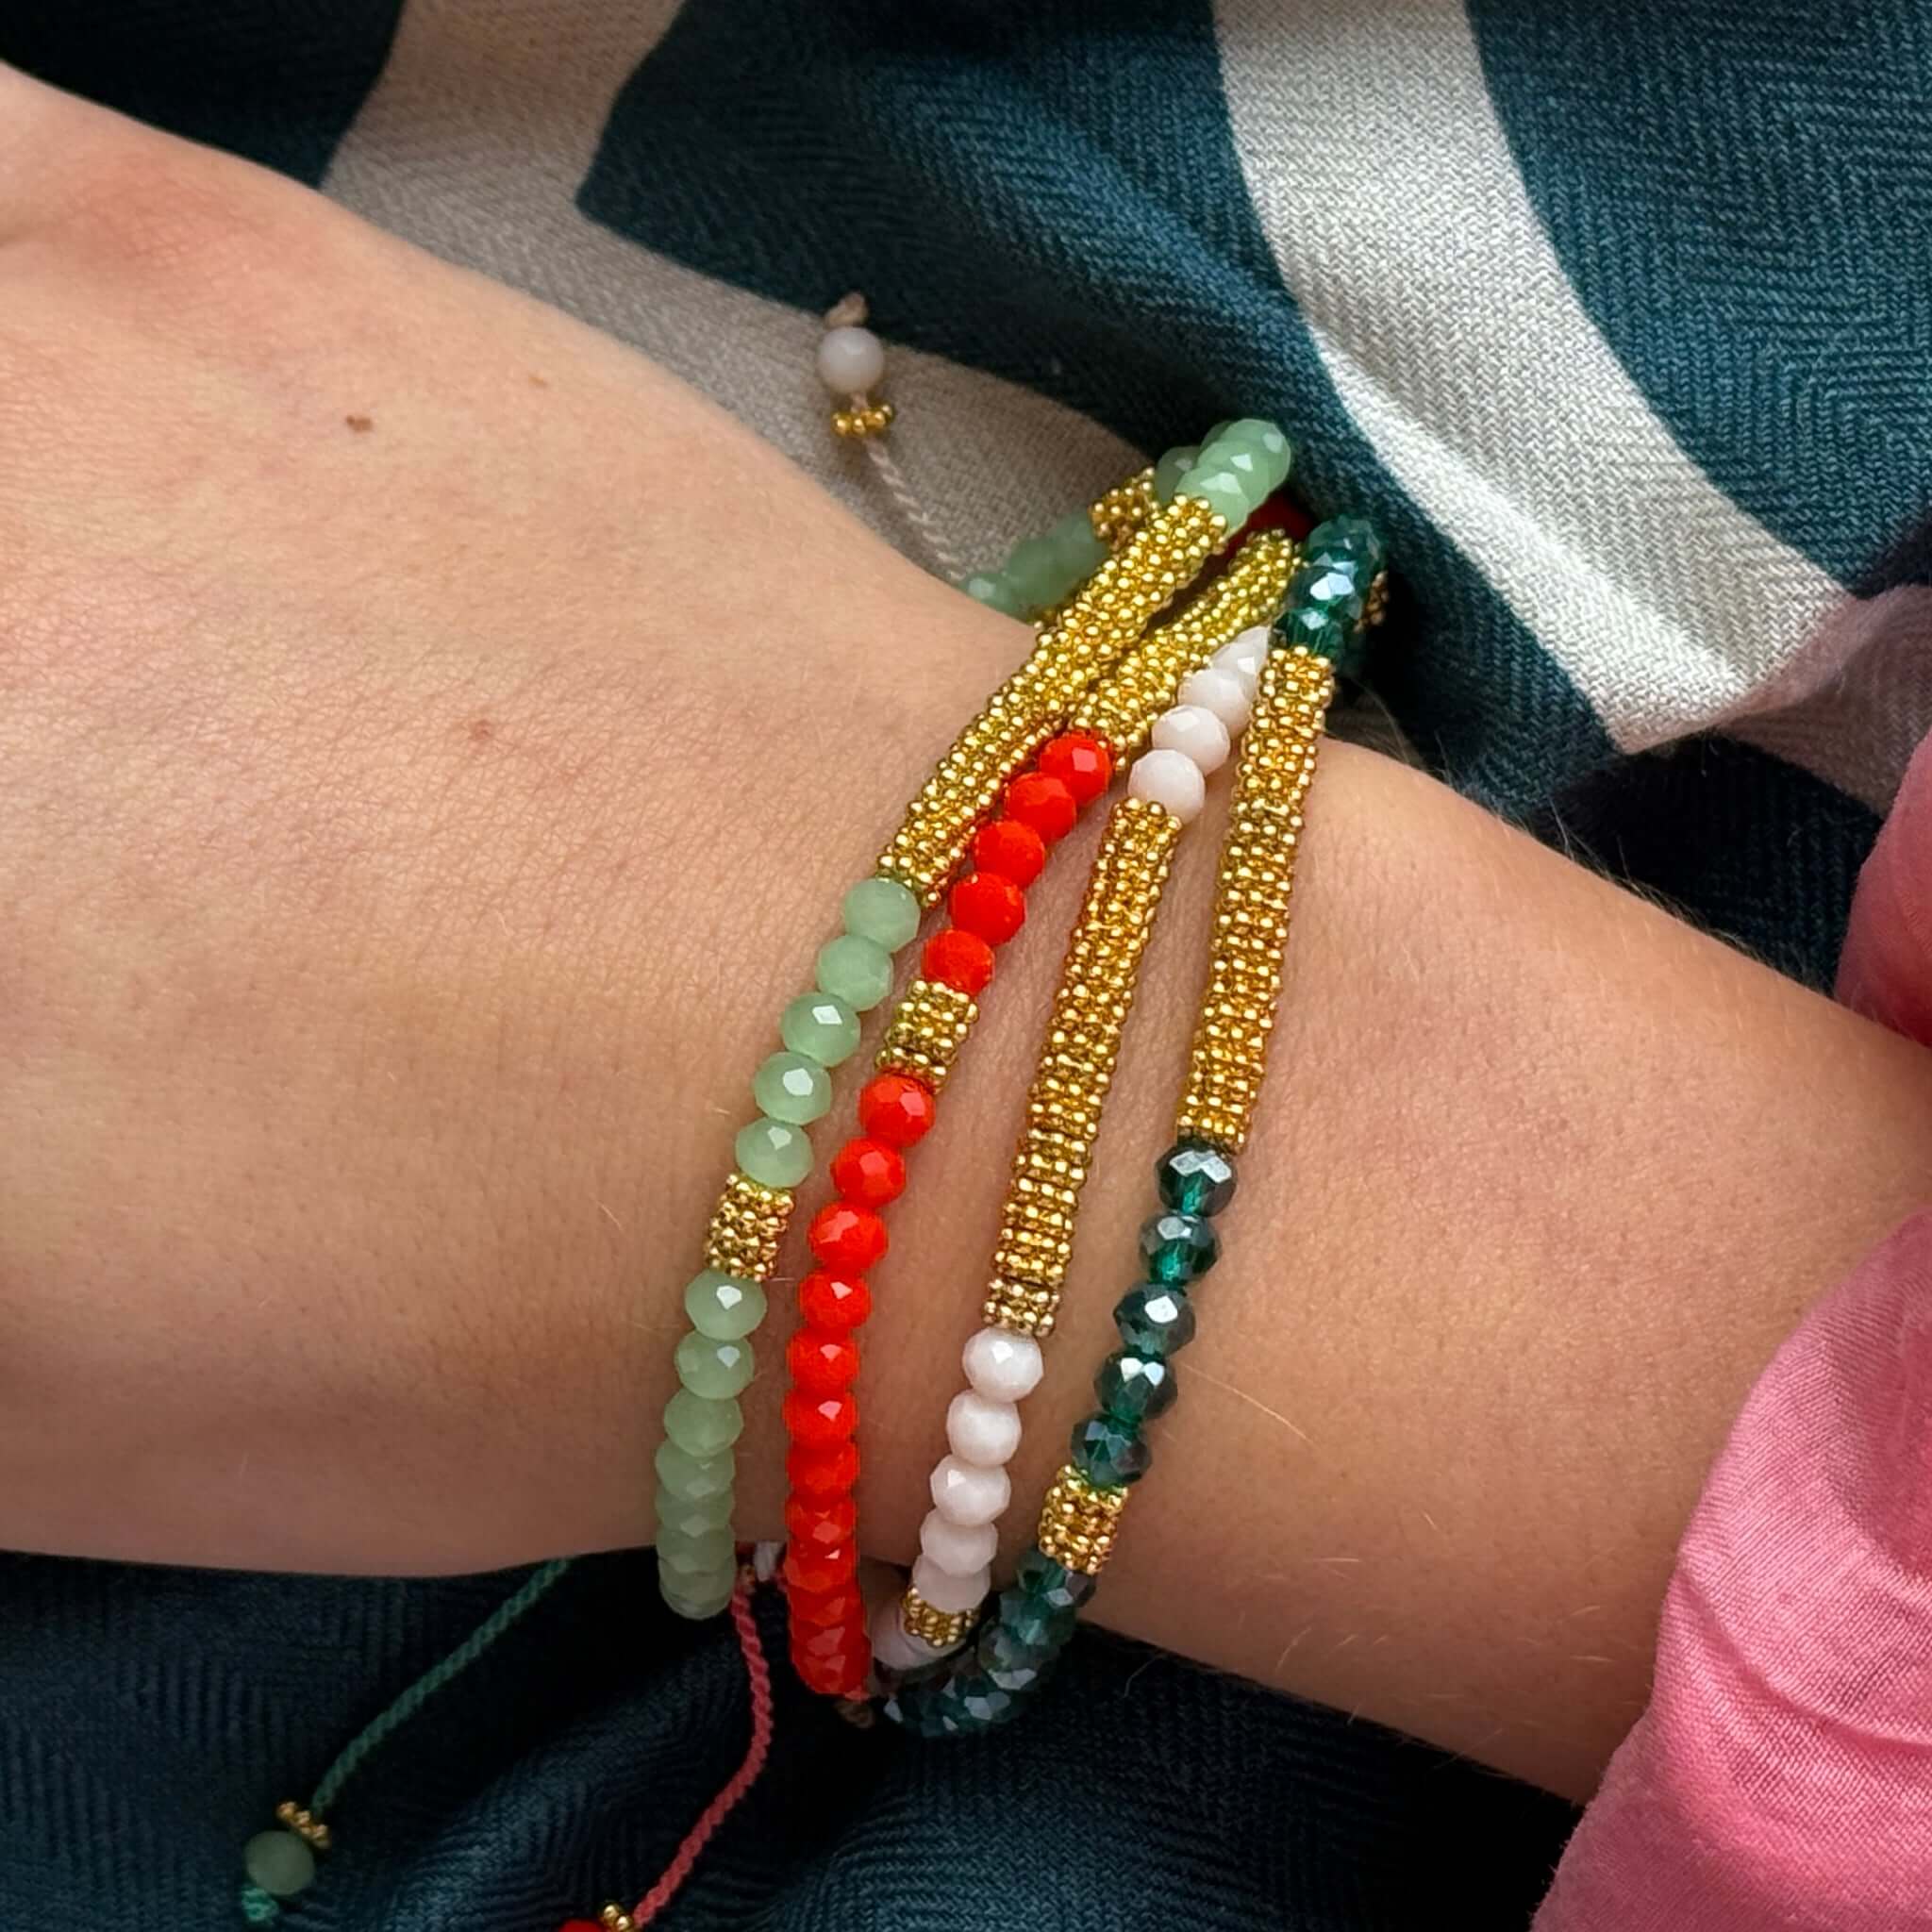
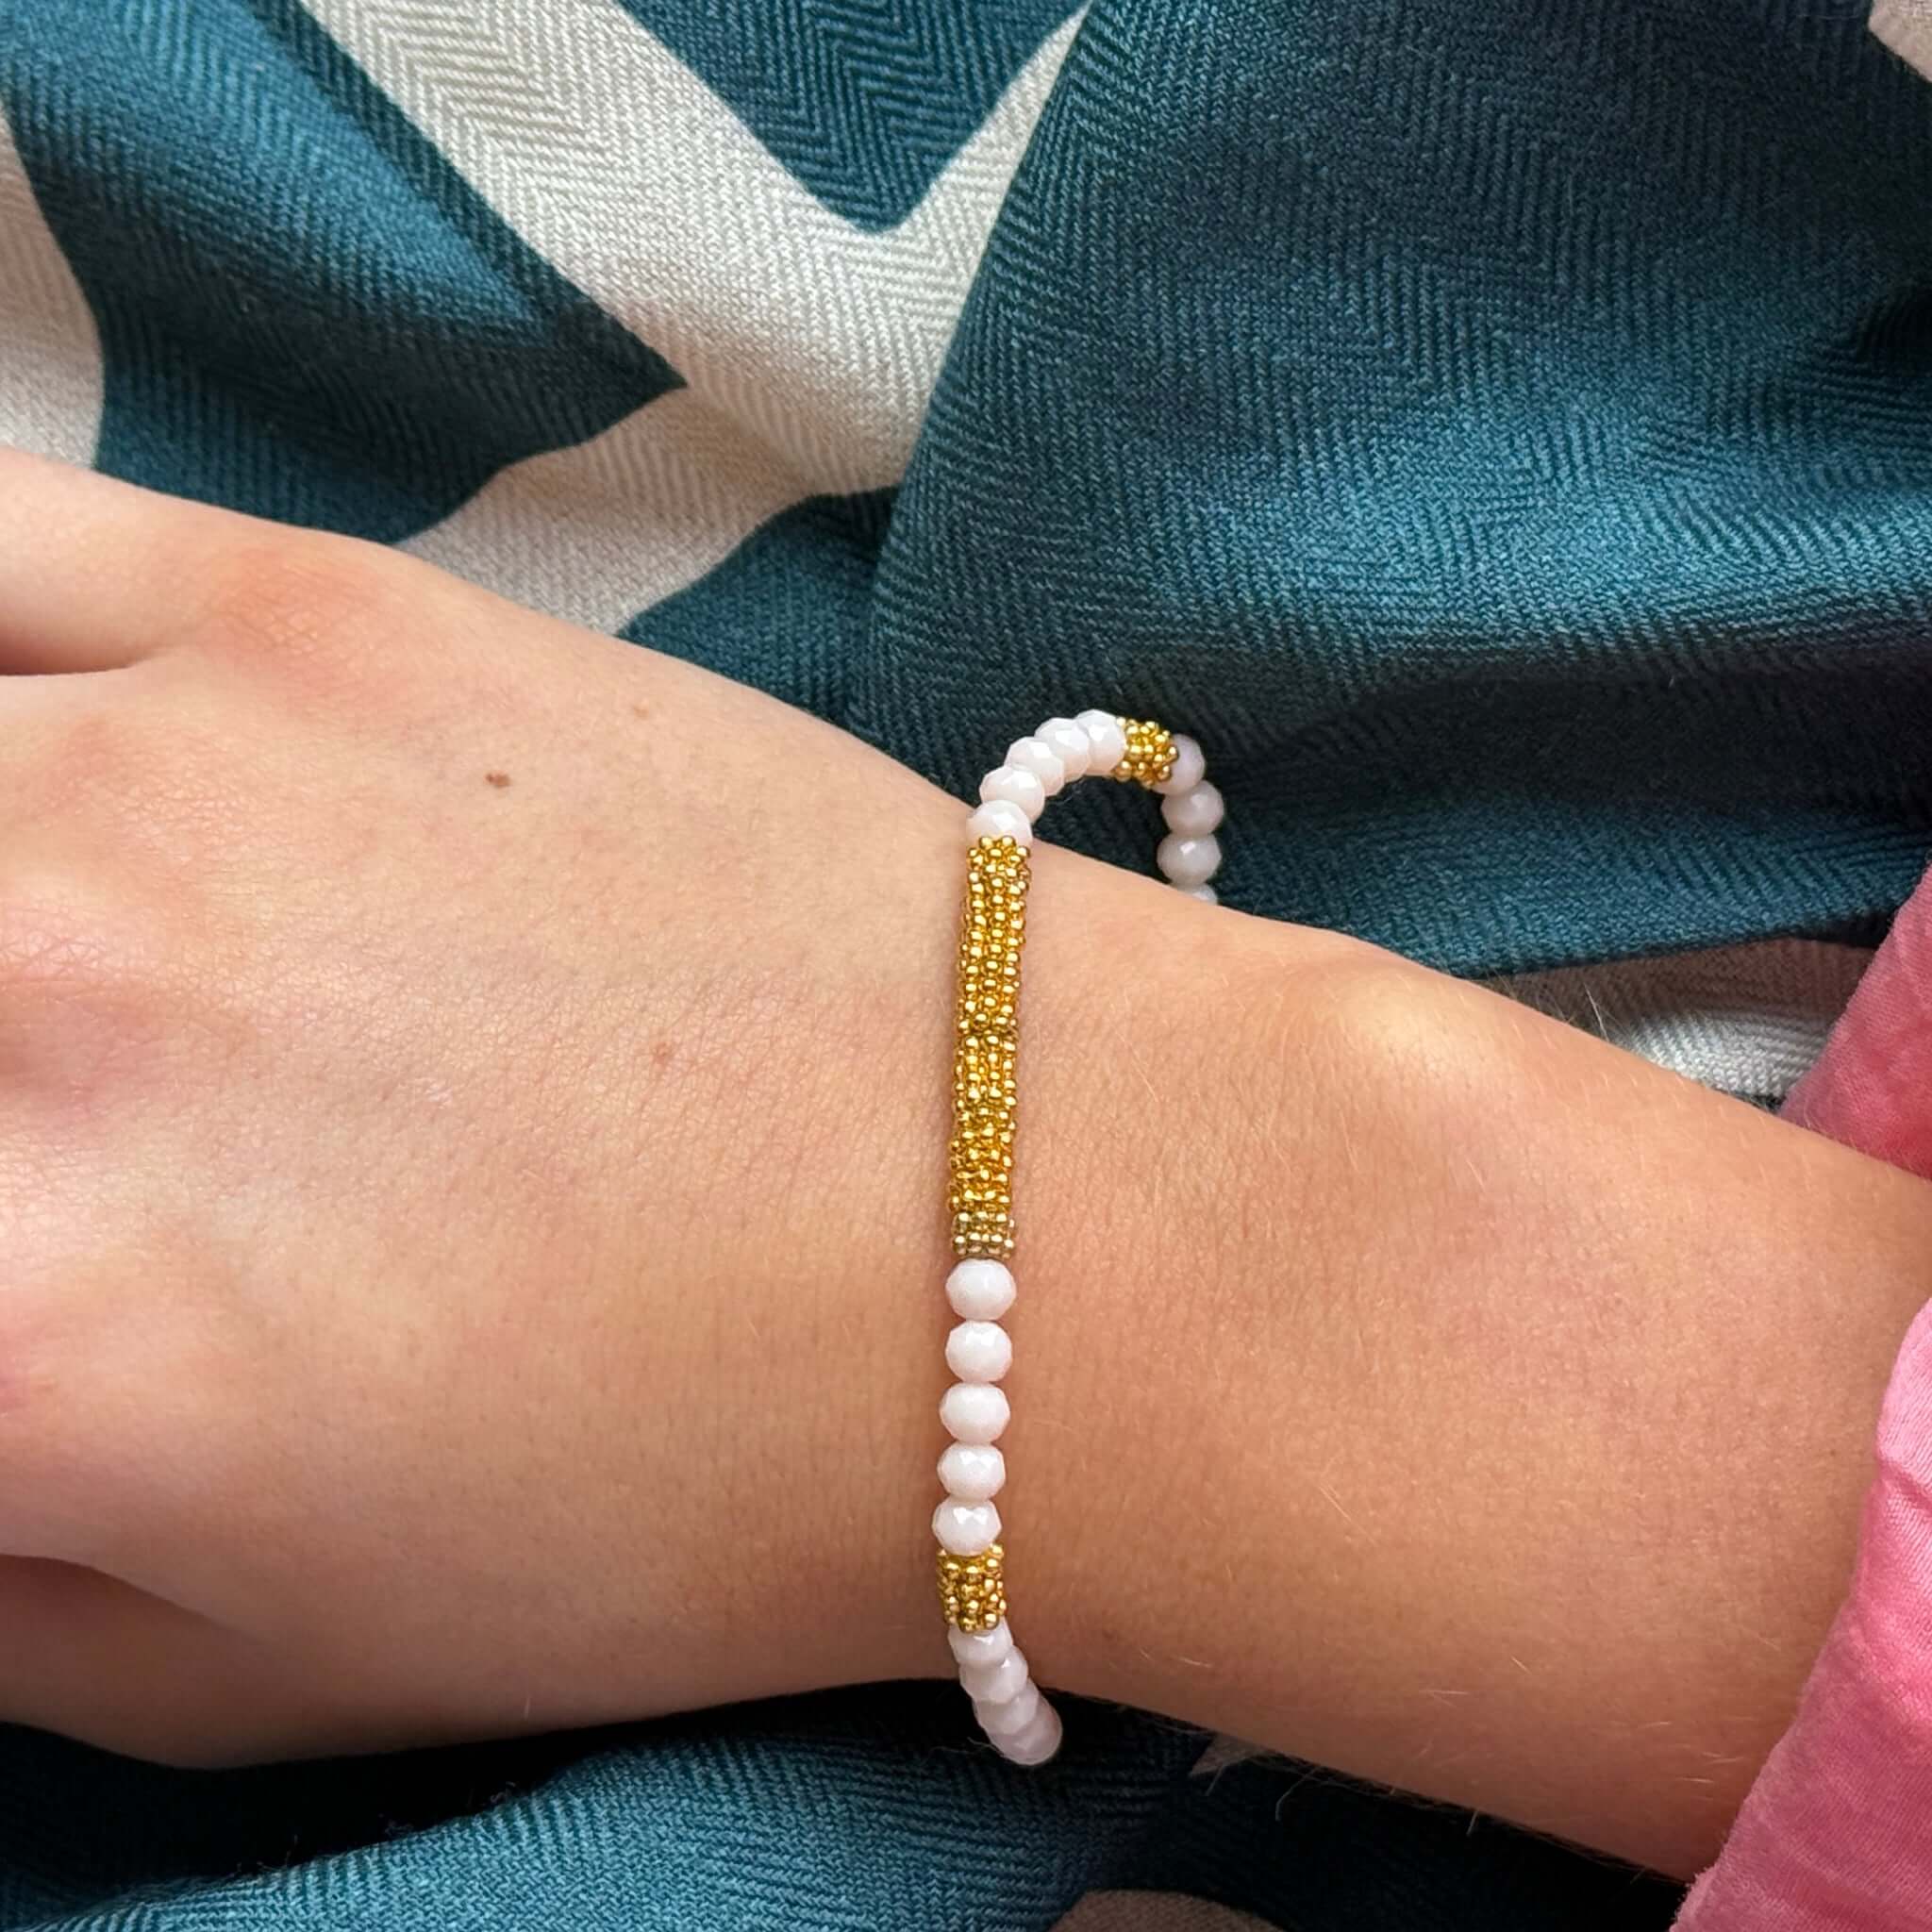
Fresh, pretty and a little bit unexpected. Margaret's Lola is a crystal bead bracelet with a woven gold bead bar as the centrepiece - a detail that takes it from simple to considered in the best possible way. Adjustable sliding cord closure means it fits just right, and the cool mint tone makes it a natural layering piece with almost anything in the Margaret collection.

We have these in a range of colours. Please select from the menu.

Details
• Faceted crystal beads.
• Woven gold bead bar feature.
• Gold spacer discs.
• Adjustable sliding cord closure.
• One size fits most.

Shipping Information  |  Returns & Exchanges

New Zealand
FREE urban delivery with orders over $95.

$7 flat rate for urban addresses
on orders under $95.

$14 flat rate for rural addresses.

(Exclusions for large or heavy items)

Shipping times
North Island urban 1-2 days.
South Island urban 2-4 days.
Rural, Waiheke Island 3-6 days.

Australia
Flat rate - $50 (large or heavy items may incur a surcharge)
5-9 day delivery.

Rest of the World
$60 - $95 (large or heavy items may incur a surcharge).
5-15 day delivery.

Full price - Refund or exchange.
Outlet - exchange only.

Step 1
Within 5 days of receiving your parcel, email us online@teapea.co.nz for a return authority. Goods will not be accepted back without this confirmation.

Step 2
Within 7 days, return the item via courier to our HQ address; 35A Box Hill, Khandallah, Wellington 6035. Or drop back into one of our stores  in new condition with all tags still attached.

Note
We can hold a different size for an exchange until your item is received.
Full price items only can be returned. 
Store credit will be processed in store immediately. Refunds will be 1-2 days to process.
A courier fee of $7 urban or $14 rural will be charged to send your new size. 
If refunded, the refund amount does not include shipping.
If originally sent with free shipping, then $7 is deducted from your refund.